1. Revamp of Visitor Details Page
| In February, we revamped a couple of TimeTec VMS interfaces; among them is the visitor details page. The visitor detail page is now enhanced with an additional menu on the left panel to separate the visitor details into sections. The visitor details are now displayed according to the selected menu.
|
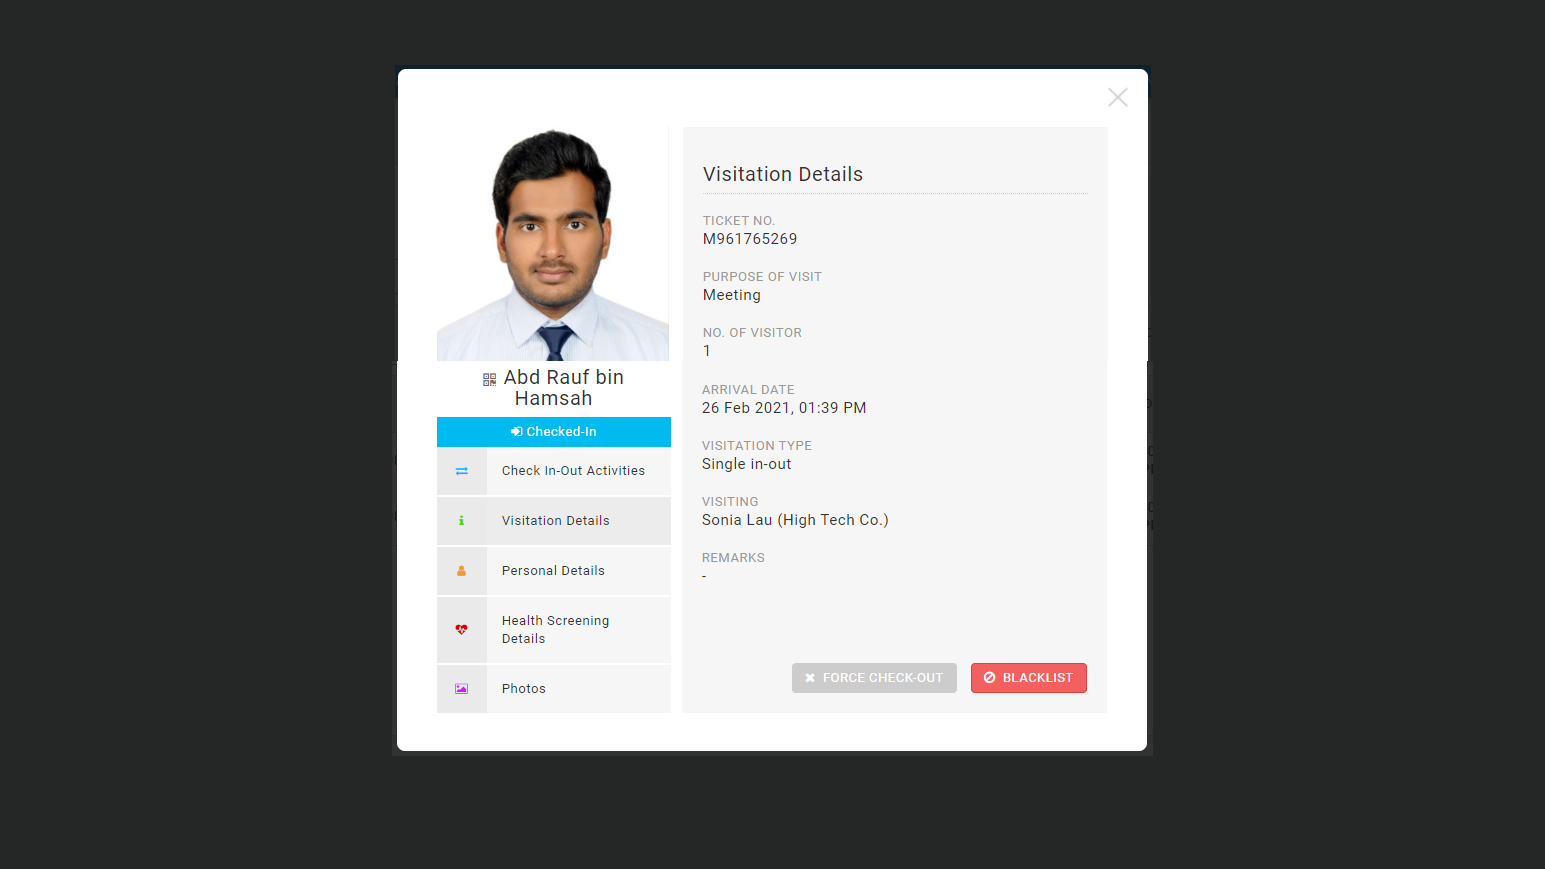 |
| Figure 1-1: Visitor Details Page (Visitation Details) |
| Notice that the section for Photos is added to this interface and allows the admin to view the captured Identification Card photo of the visitor.
|
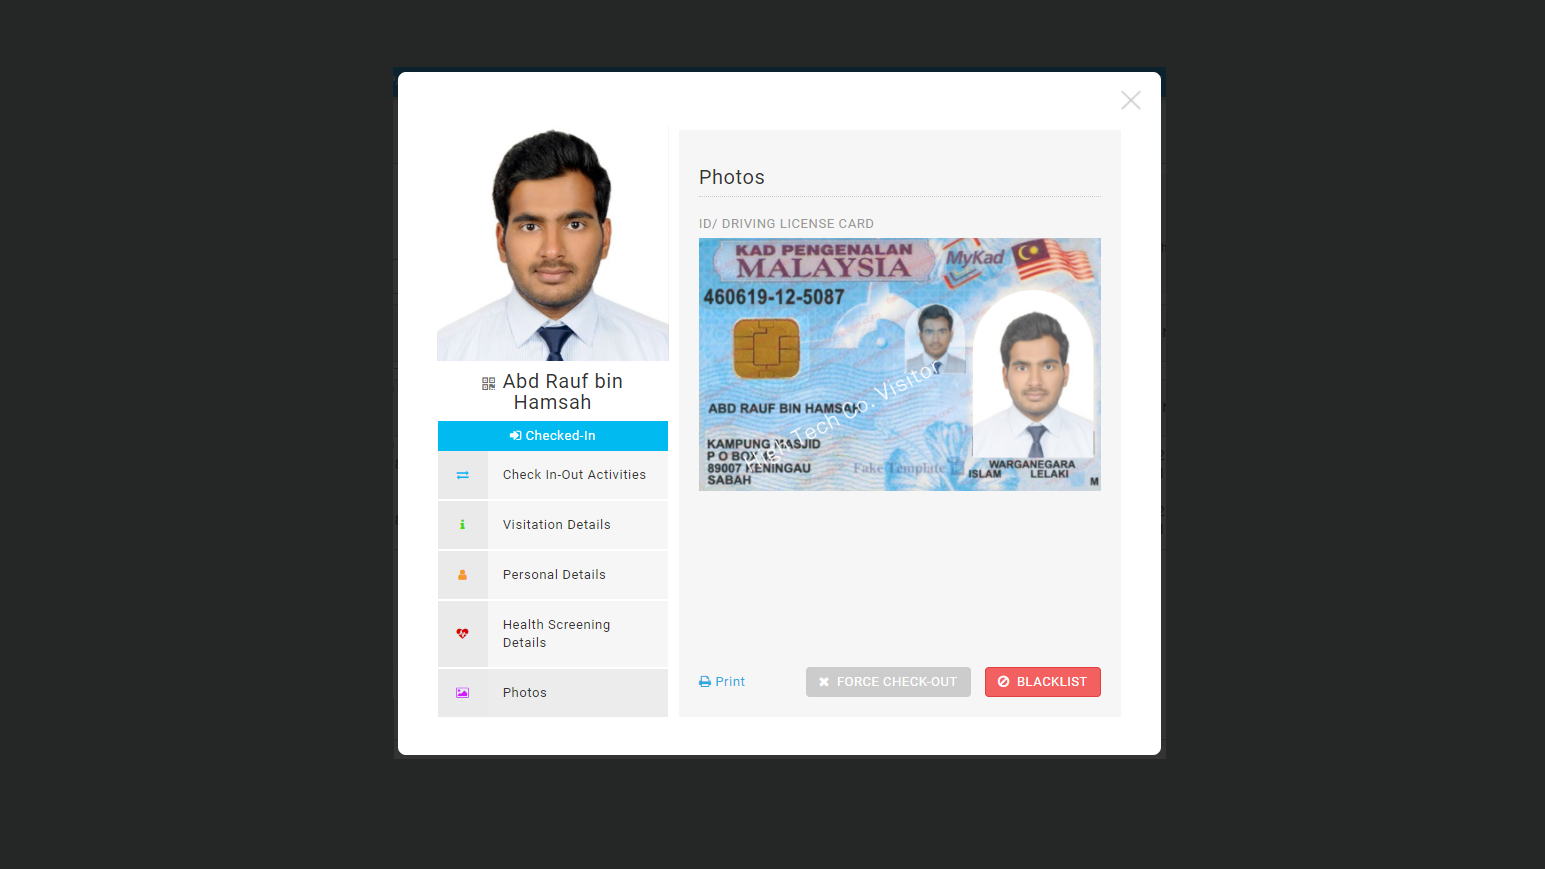 |
| Figure 1-2: Visitor Details Page (Photos) |
| In case the identification card photo is required by the authorities, the admin may opt to print the photo by clicking on the print button. This process would help report visitors who manage to breach the security of the premise.
|
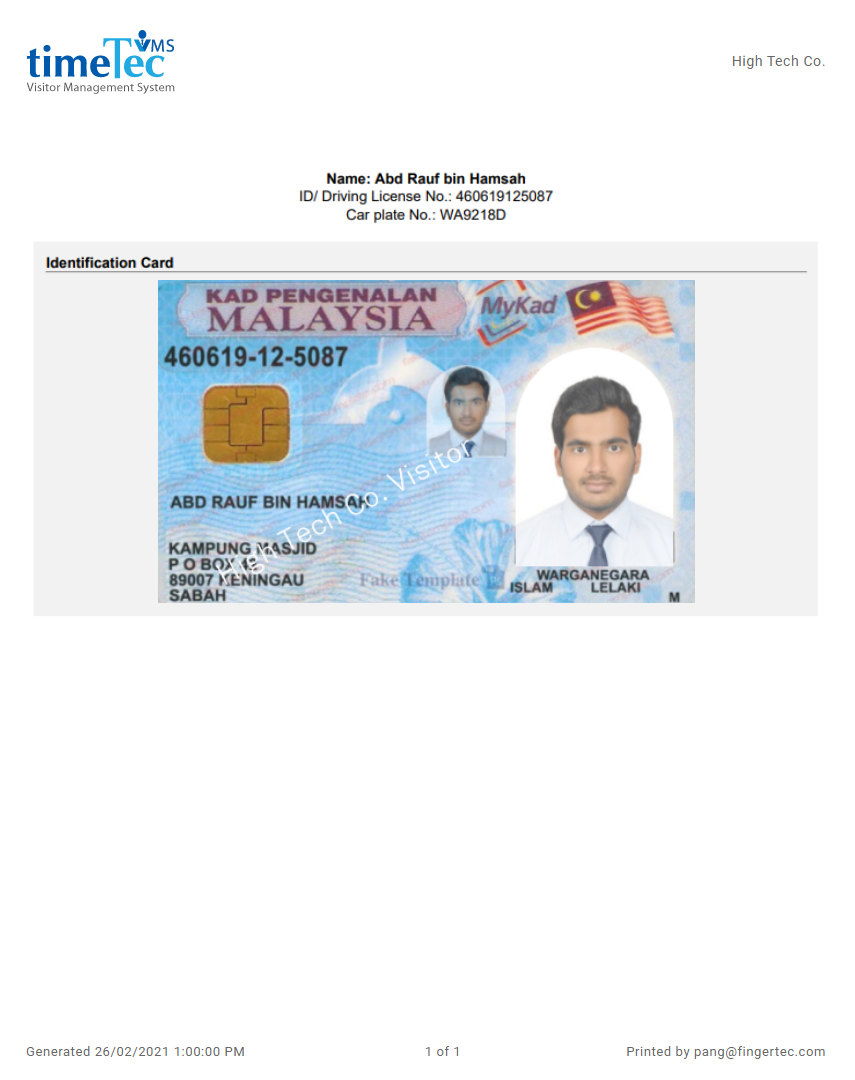 |
| Figure 1-3: Feature to print Identification Card Photo |
| Along with this revamp, we also included a feature that allows the admin or host to retrieve the visitor's visitation ticket. To retrieve the ticket, click on the QR code icon available beside the visitor's name on the Visitor Details Page.
|
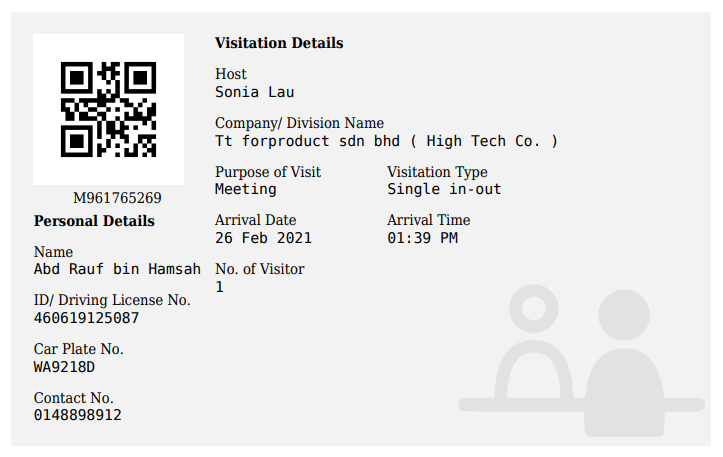 |
| Figure 1-4: Visitation Ticket retrieved from Visitor Details Page. |
1. Revamp of Visitor & Contractor Details Settings Page
Revamp of Visitor & Contractor Details Settings Page
Aside from that, last month, we also revamped both of our Visitor and Contractor Details Settings Page. The new display style provides a precise setting that allows the admin to set the profile photo and other custom fields as mandatory or optional.
Previously, the profile and identification card photos were both optional fields to fill in, which give the front desk option to skip the photo capturing step during registration. To cater to companies' standard operating procedure to compulsory capture visitor's profile and identification card photo, we now provide options for the admin to set these fields as mandatory if required.
Along with this revamp, we also included a feature that allows the admin or host to retrieve the visitor's visitation ticket. To retrieve the ticket, click on the QR code icon available beside the visitor's name on the Visitor Details Page.
|
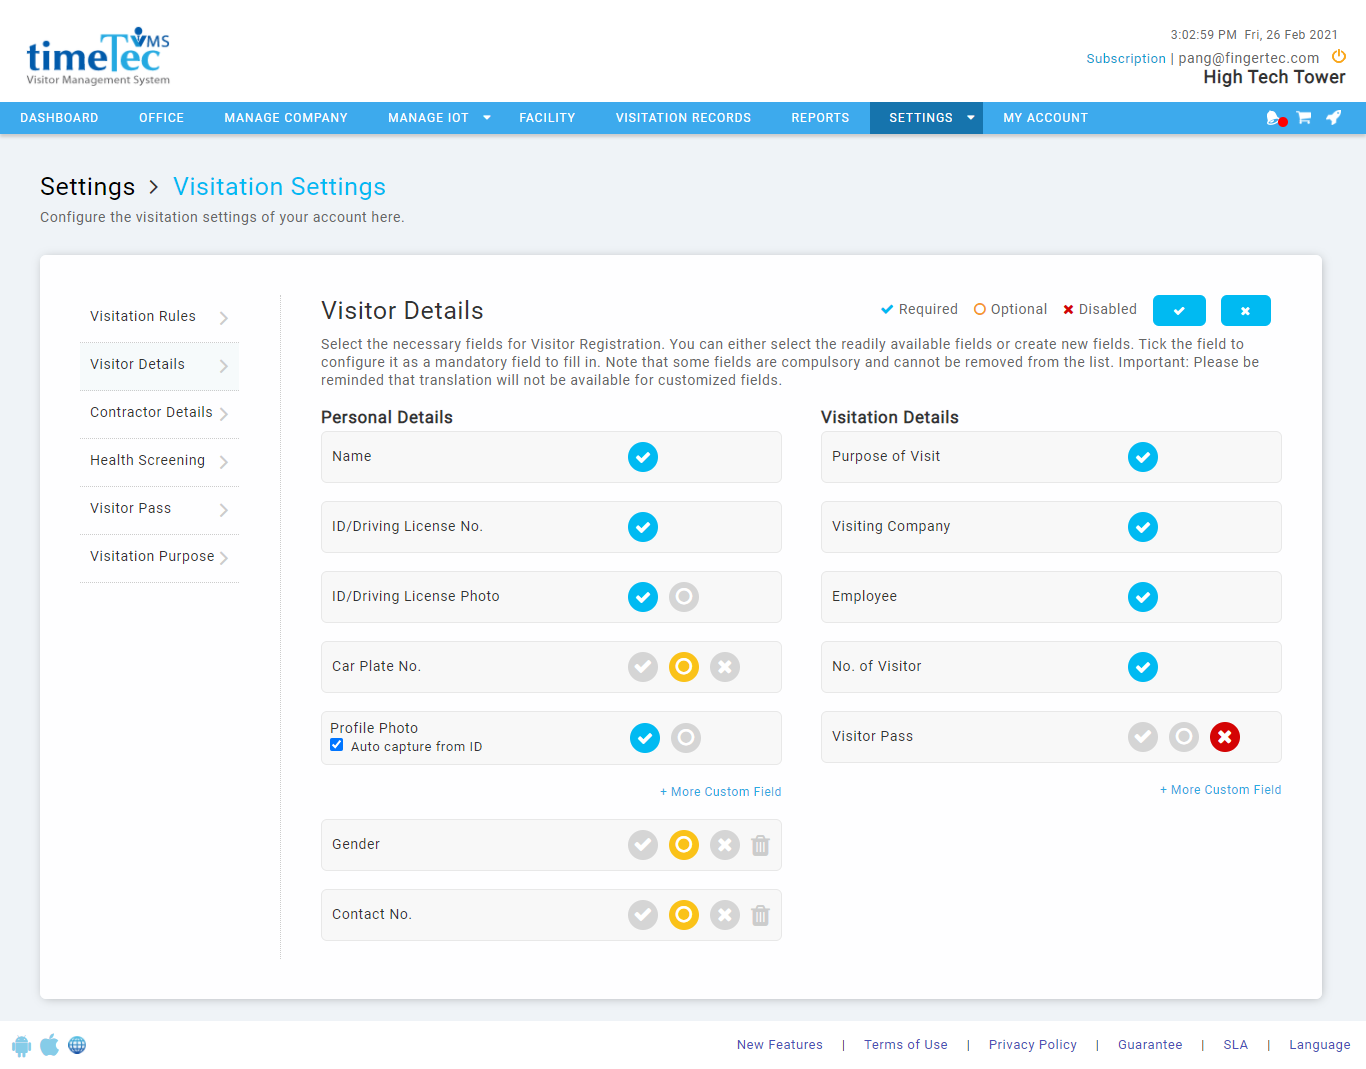 |
| Figure 2-1: Visitor Details Settings Page |
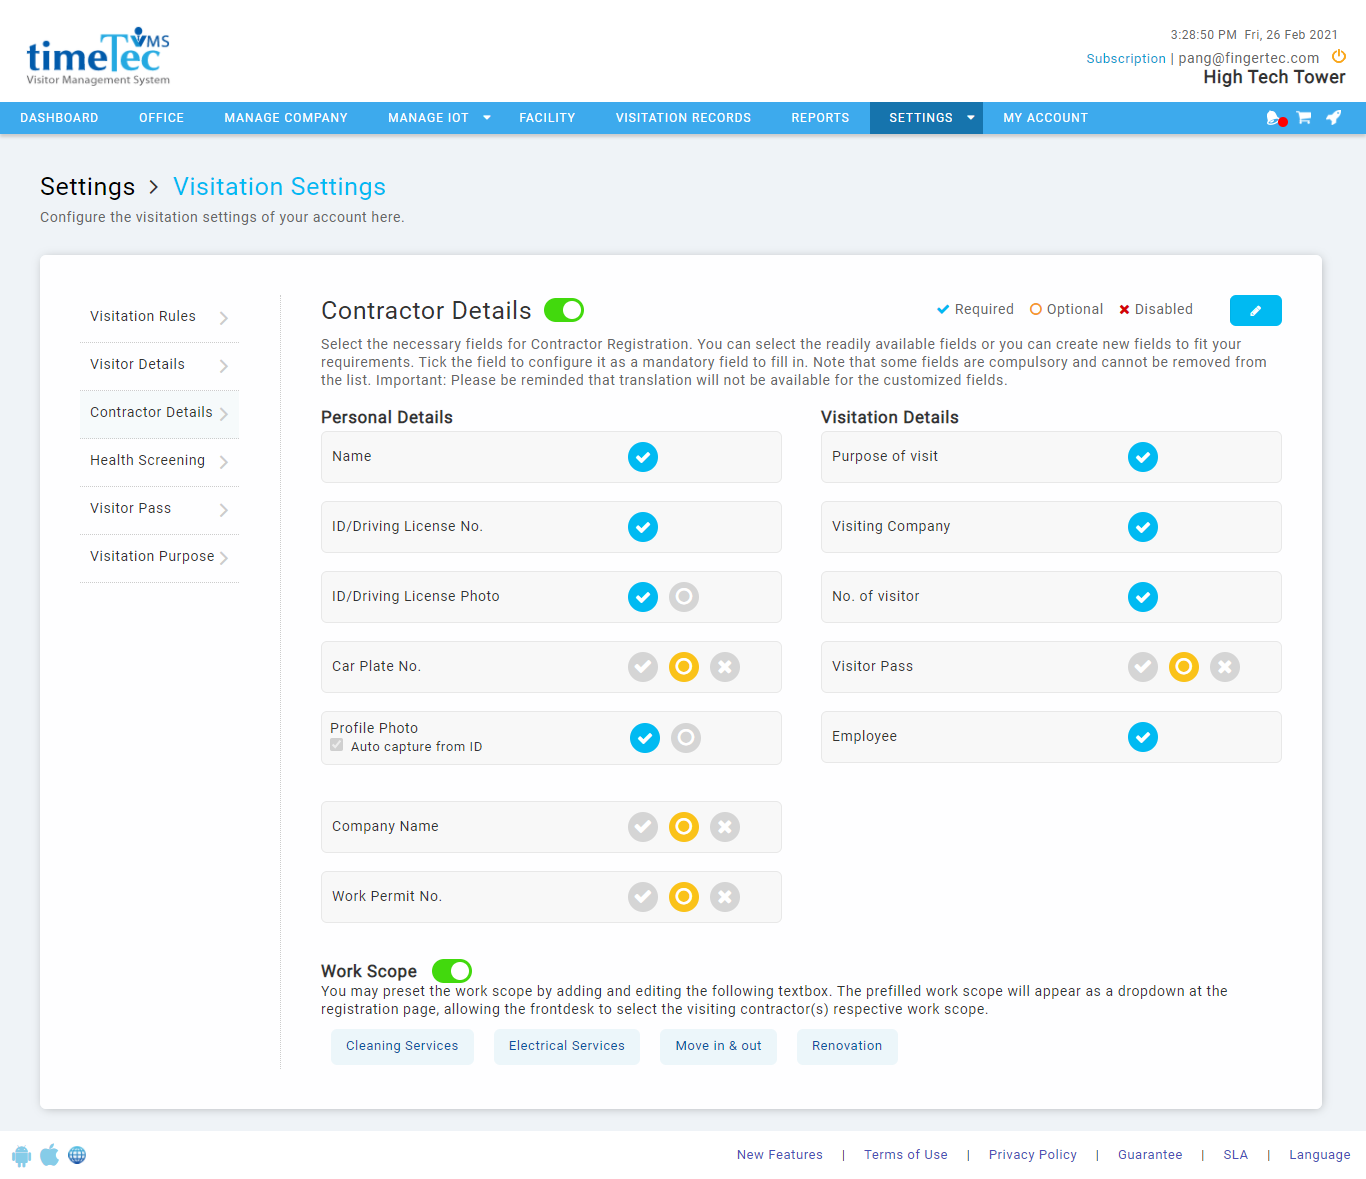 |
| Figure 2-2: Contractor Details Settings Page |
1. Revamp of Visitor Pass
| We enhance the display style for the visitor pass as well to give it a fresh look. If the company uploaded their logo into the system, it would be displayed on the visitor pass. |
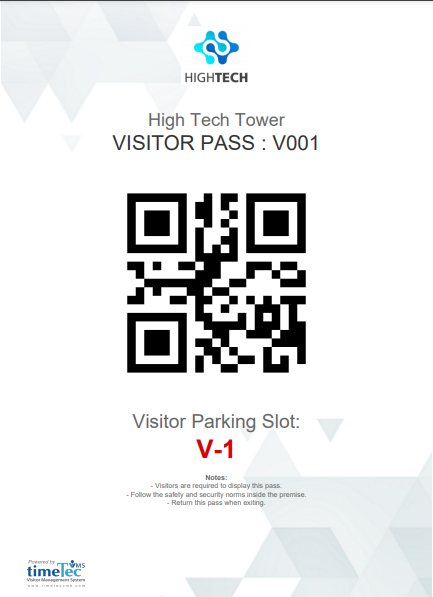 |
| Figure 3-1: Visitor Pass (A6 Size)
|
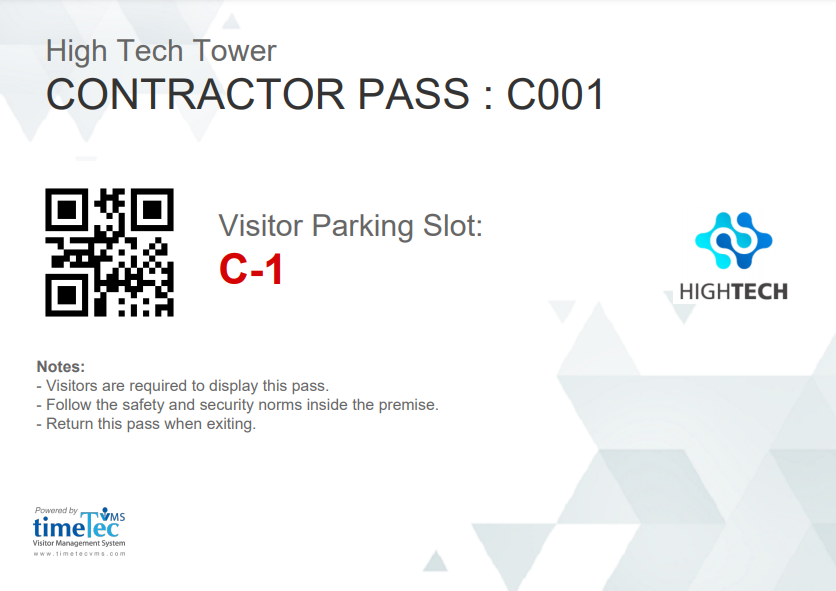 |
| Figure 3-2: Visitor Pass (A4 Size) |
1. Typefaces & Description
| As some of you might already notice, last month, we had changed the font in our web portal and updated some of the descriptions as well. The new typefaces give the system a refreshed look, offer high readability and professional appearance.
|
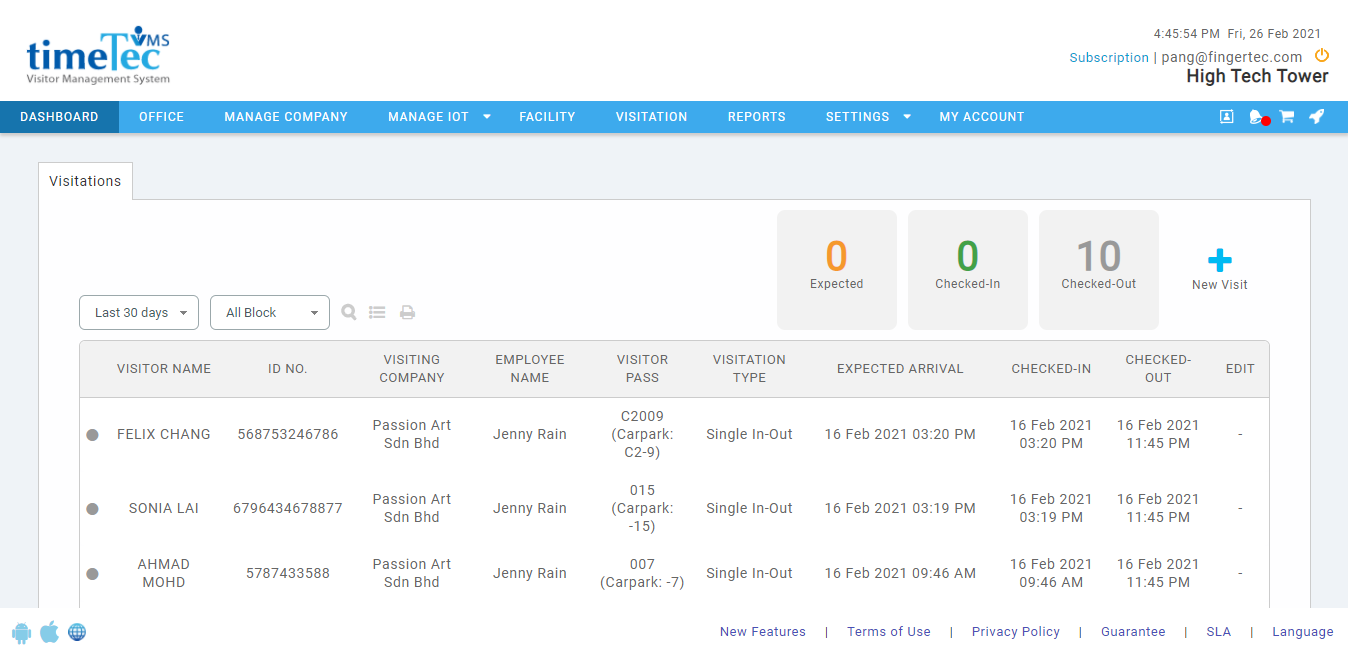 |
| Figure 4-1: Dashboard with New Typefaces |
1. Deny Access for Visitor with Fever
| Previously, there was no option to block visitors with high body temperature from check-in. The system will only alert the selected admin regarding the check-in and not stop the visitor from checking in. As some of the companies may want to restrict the visitor from entering the premises if the visitor is experiencing fever, we now provide settings that allow the admin to set the maximum body temperature and the option to block the check-in if the body temperature of the visitor exceeds the maximum body temperature.
|
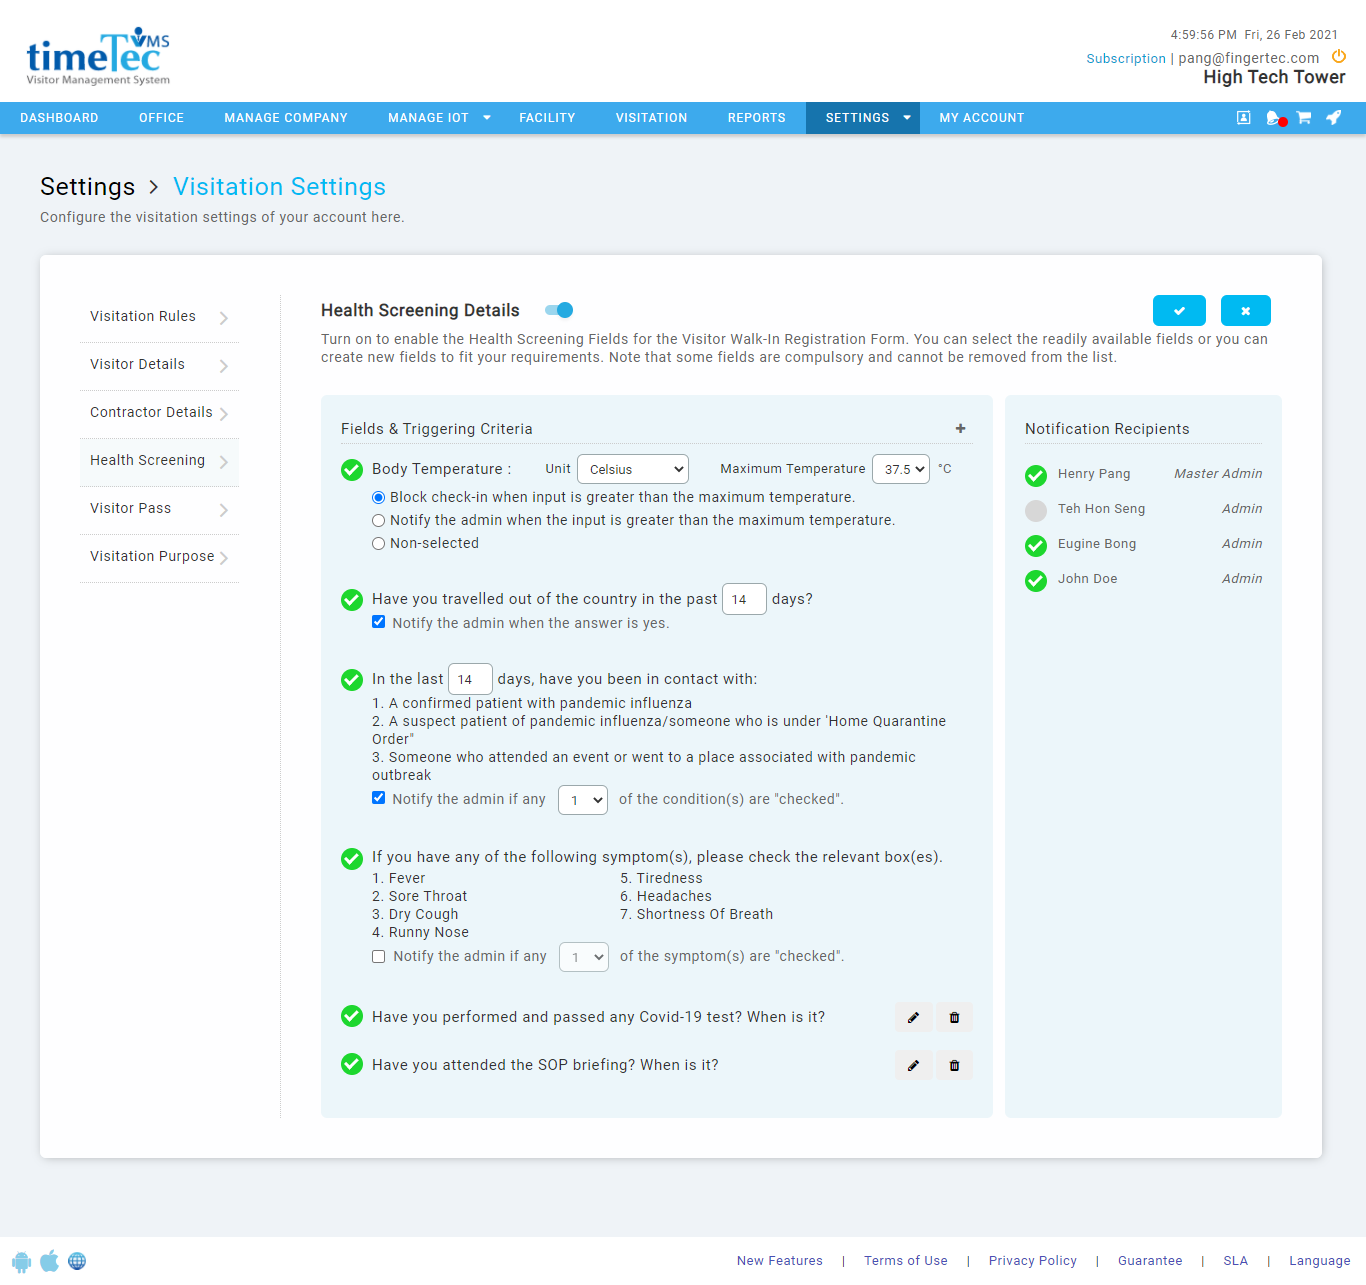 |
| Figure 5-1: Health Screening Setting Page |
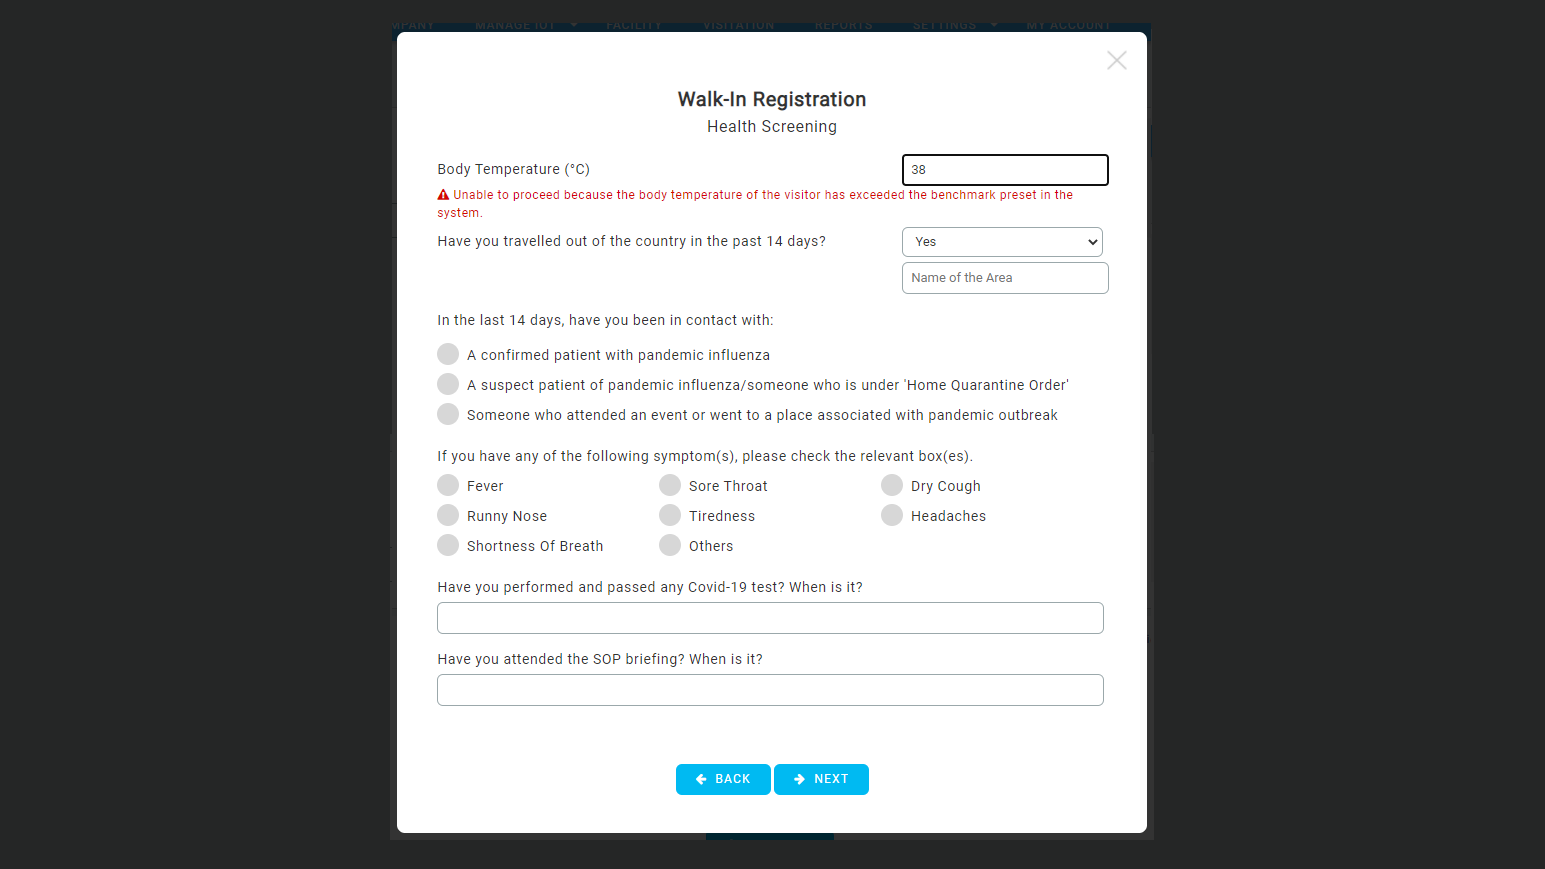 |
| Figure 5-2: Walk-in Registration (Health Screening Page) |